
If you are a startup or have a small business, then marketing your products on multiple platforms is highly beneficial for gaining audience attention and increasing conversions and sales. One such platform is Facebook Pixel for WooCommerce. Through Facebook Pixel, you can market your products to a wider audience, retarget your products, define and choose your audience, and display your ads to the right customers.
All of this would have been difficult with just a WooCommerce website. That’s why Facebook Pixel is important for your advertising strategy.
In this article, we will teach you how to integrate Facebook Pixel with WooCommerce. But first, let’s discuss what it is and its many benefits.
Streamline cash flow with the best WooCommerce Payment Gateways
A Deep Look into Facebook Pixel for WooCommerce
Facebook Pixel is a code that is placed on your WooCommerce site and is used to capture user information of anyone that visits your site. This tracking code helps in advertising your products on Facebook by monitoring user behavior, creating ad campaigns, segmenting audiences, and retargeting ads.
If you want to use Facebook Pixel’s powerful features for your site and improve your advertising on social media platforms, then read on ahead to see how you can set up Facebook Pixel for your WooCommerce store.
Learn how to create BOGO deals in WooCommerce step-by-step
Step-by-Step Process to Configure Facebook Pixel on WooCommerce Store
We have discussed a step-by-step guide below to help you easily set up Facebook Pixel on your WooCommerce store. Let’s get started!
Step 1: Create Facebook Pixel for your Site
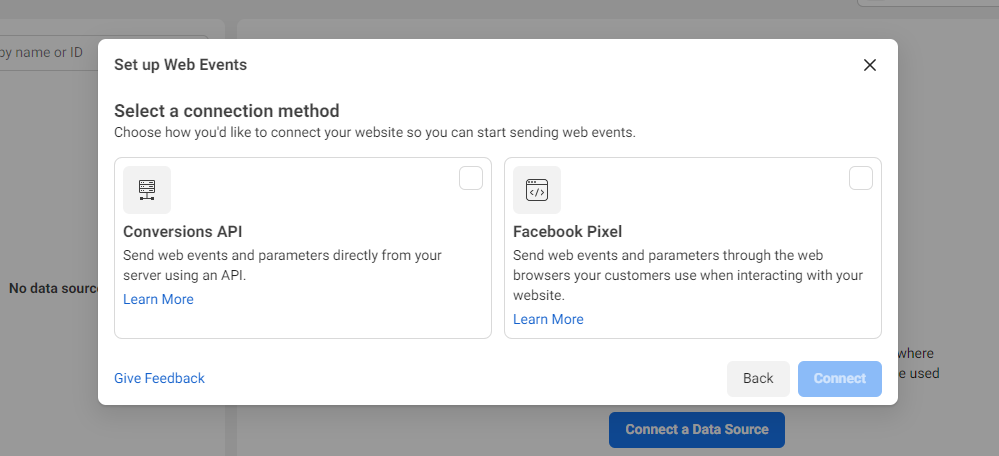
The first step involves logging in to your Facebook Business account to create ads. Go to Facebook Business > Events Manager and click on “Connect a data source”. Now a pop-up will open, where you will be given several options, click on “Web Events” and then “Facebook Pixel”.
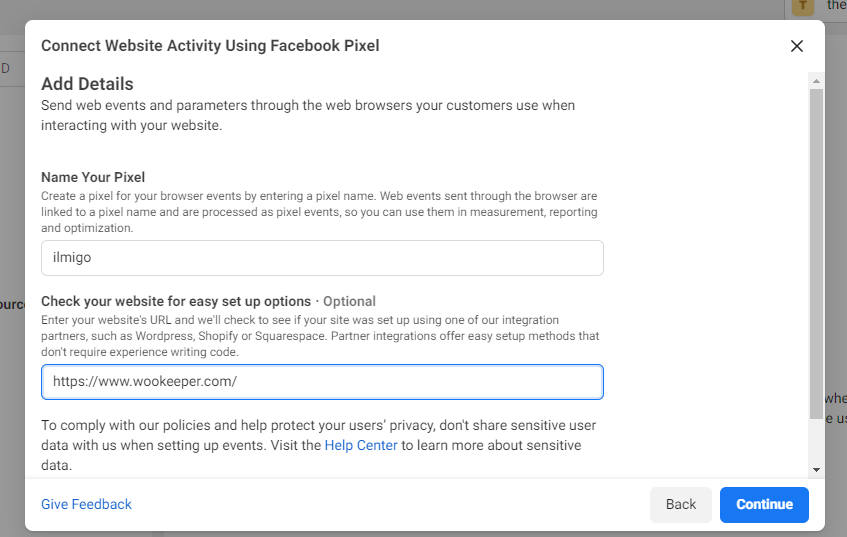
Now add the Pixel name and your website URL and click on “continue”. Once the Pixel is created, you need to install it on your WooCommerce website.
Step 2: Integrate Facebook Pixel into your WooCommerce Store
You will be given 3 options to integrate your newly created Facebook Pixel. These options are: Add code using a Partner Integration, Manually add pixel code to the website, or Email instructions to a developer.
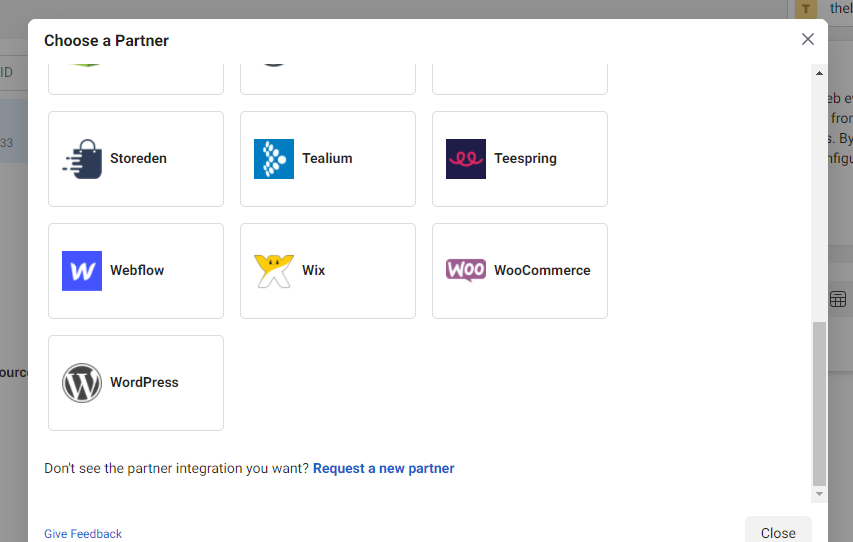
Out of these 3, the most beginner-friendly option is to use a partner integration. Click on this option and you will be directed to a new page with multiple options of integration. Choose “WooCommerce” on this page and connect your WooCommerce store.
Step 3: Connect WooCommerce Account
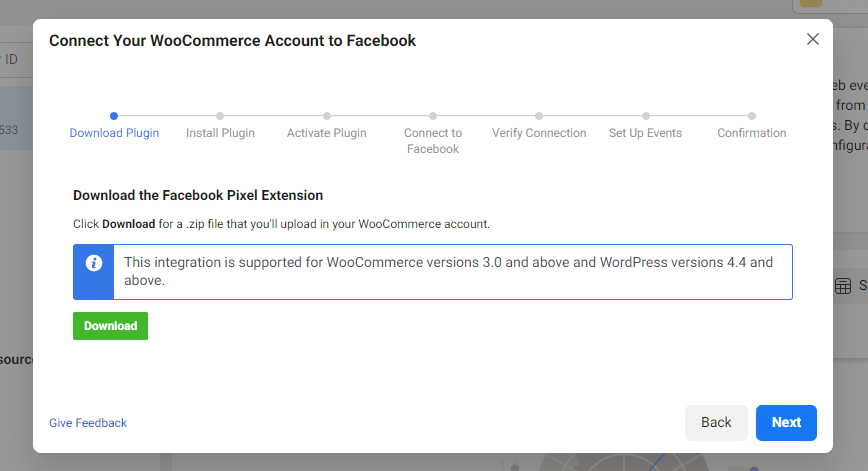
There is a series of steps you need to follow to connect your WooCommerce store. First, you need to download the plugin and then click on the continue button. Next, you will find a set of instructions that will help you install and activate the plugin on WooCommerce.
After installing the plugin, activate it and verify your connection. Then leave this page and go to your WooCommerce website.
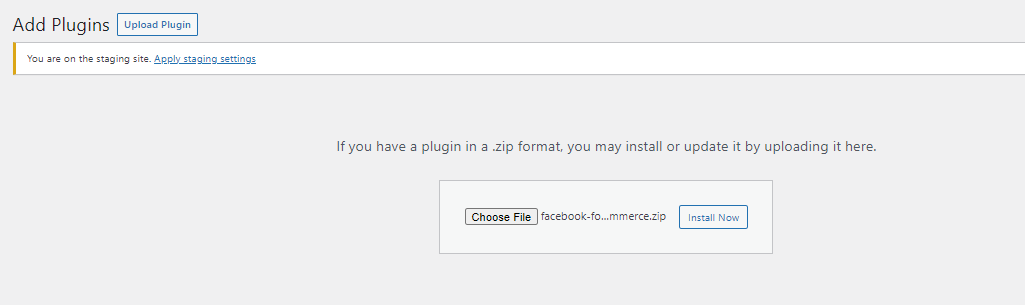
Step 4: Activate Plugin on WooCommerce store
Go to WooCommerce > Plugins > Add New, and add the extension Facebook Pixel for WooCommerce, that you downloaded above, to install and activate it. After activation, go to the plugin’s Settings page and configure the plugin.
First, you need to add your Facebook business page, then the Facebook Pixel you created in the first step, and lastly import products that you want to advertise. After the importing process is complete, you need to go back to the Partner integration page and complete the verification process.
Step 5: Verification
As you return to the Partner Integration page, it will already be verified, click on continue. Then add the website URL, again click on continue. Now, you can test your events and create ads.
And that’s it! Your Facebook Pixel integration for WooCommerce is complete.
Enable customer tracking on WooCommerce with Google Analytics with few simple steps
How to Create an Ad Campaign on Facebook
Just so you know how it works, we are going to teach how you can create an ad campaign with Facebook Ads Manager. To start, go to your Facebook account, click on the upside-down arrow on the top-right corner and click on Manage Ads. Then, click on “Ads Manager” from the drop-down menu in the top-left corner.
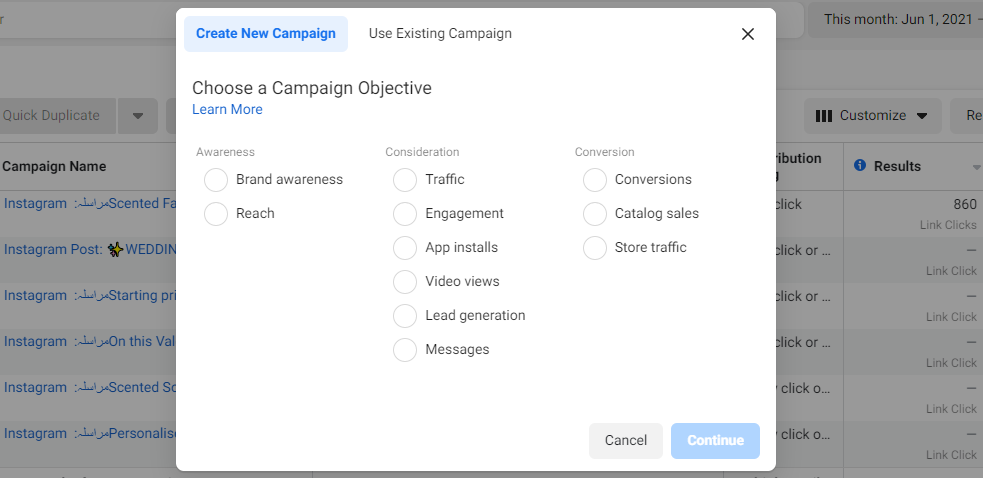
Step 1: Ad Campaign Objective
Go to campaigns, and click on the create button. The first thing they will ask you is to list your campaign’s objective in terms of awareness, consideration, and conversion. There are multiple options given in each, you have to choose one according to your requirements and what you want out of this campaign. Next, name the campaign and click on continue.
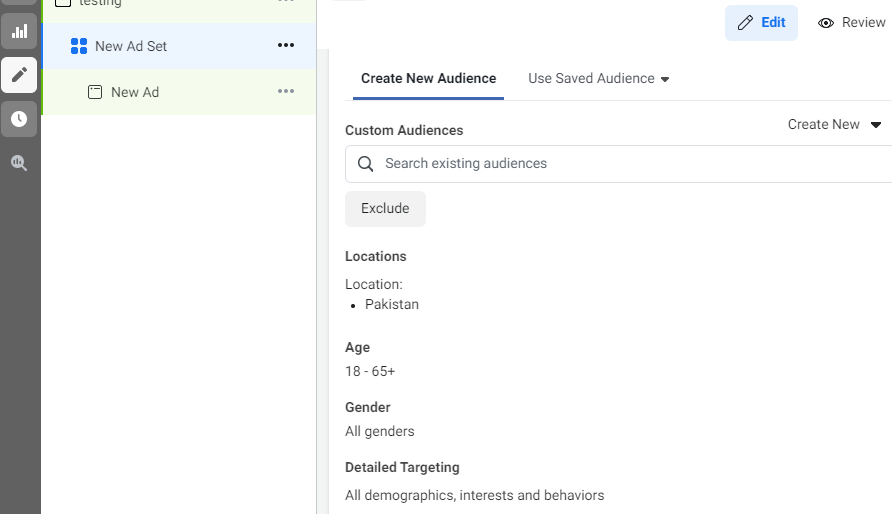
Step 2: Defining Audience
Now you need to create an audience or use a saved audience for your ad campaign. You can set the location, gender, age, add/exclude interests, and choose to set a connection as well, which means if these people have ever had any connection to your page and event.
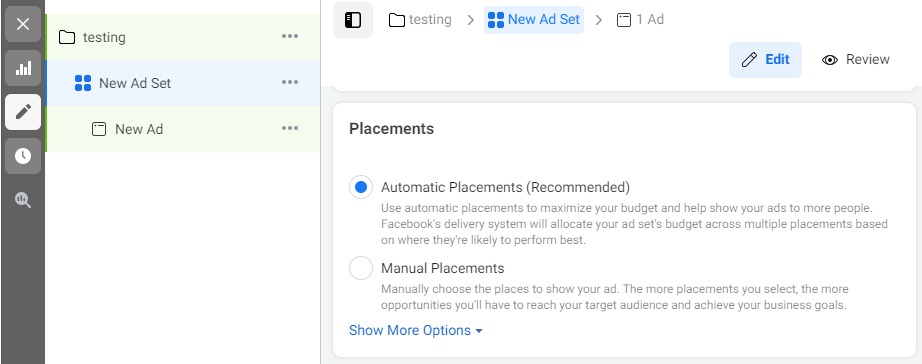
Step 3: Placement and Schedule
Next, you have to choose where you want to display or place your ad campaign. Facebook Ads provides you with 2 options, automatic or edit placement. In automatic placement, Facebook will show your ads on different platforms and apps based on your budget and maximize your reach, whereas, in edit placement, you can choose the apps you want to display your ads on.
Next, you need to set up the budget for the ad and schedule the days as well. Lastly, select the format of your ad, they give you few options to choose from of how you want your ad to look. And you are done!
Boost conversion with the best WooCommerce Follow-Up Email plugins
What Are The Benefits of Facebook Pixel
There are multiple benefits of implementing Facebook Pixel on your WooCommerce store. Let’s discuss them in detail and how to best utilize them.
1. Retarget with Ads
One of the major benefits of using Facebook Pixel is its ability to retarget ads to your audience. Suppose a visitor enters your site, browse and adds products to a cart, and for some reason abandons it and does not complete the purchase. Facebook Pixel uses your product catalog and retargets those visitors with the products they abandoned. This entices your customers to complete the purchase and more often than not, they will! Because they were already interested in your products.
2. Build Custom Audience and Track Behavior
Facebook Pixel enables you to track the customer behavior of people who have visited your site or purchased products. Along with using this data for retargeting ads, it also collects this information to create a custom audience. This audience is based on the visitors or customers of your site and thus they reach out to people who have similar interests. This has a higher chance of conversion as these people are interested in your niche.
Now, this might become a problem if you have multiple products on-site and not everyone buys the same product from your store. But don’t fret! Facebook Pixel enables you to segment your customers and target them accordingly.
3. Increase Conversions
Facebook Pixel does not only track your customers to retarget ads but it also collects information and insights regarding their behavior and interest. This helps you understand your audience and better cater to their needs. If you know your customers, you can create better-suited ads that will result in more conversions.
4. Track your Performance
Along with user insight, you can also track your performance regarding advertisements and see if your ad campaigns are working or not. This is crucial to test out different strategies and see which works best for your business. Facebook Pixel provides such tools for tracking and analysis.
Price your shipments by distance with the best WooCommerce Distance rate Shipping plugins
Wrap-Up
I think it’s safe to say that Facebook Pixel can help you master Facebook ads and also improve your advertising game. It helps you reach out to a wider audience, increase conversions and sales, and define a customer profile to target. All of this would not be possible without the help of the WooCommerce Facebook Pixel integration. We hope this article simplified the integration process for you and benefits your business greatly.


