Best WooCommerce Photography Plugins + How-to & Tips
overview Overview
Do you want to create a photography store with WooCommerce? Then you have come to the right place. WooCommerce provides you multiple features to set up a photography store where customers can buy your digital prints easily. But to take this to the next level, you can also use photography plugins to attractively show your photographs on-site and gain customer attention.
In this article, we will guide you on how you can set up a photograph store on WooCommerce with the help of a plugin. Moreover, you will also learn how to restrict access to users for client-specific work. Let’s get started!
Optimize your shopping experience by using the best WooCommerce Plugins and increase functionality.
military_tech Best WooCommerce Photography Website Plugins
Here are our picks for the best WooCommerce photography plugins for you to choose from to create your photography store with WooCommerce.
Use the best WooCommerce Page Builder plugins to customize and design your website interface
1 WooCommerce Photography
WooCommerce Photography plugin enables you to upload and sell photos and digital art online easily. It streamlines the whole shopping process and makes it easy for you to manage your daily work. It also has a batch photograph uploader that enables you to add multiple photos together and save time.

2 Envira Gallery
Envira Gallery is a powerful and responsive gallery plugin that enables you to create a photography store with WooCommerce. It is equipped with a drag and drop builder that lets you create beautiful galleries. Moreover, you can also use the pre-made templates to customize. You can also add images, sort albums, add tags, and much more.

3 Sell Media
Sell Media is a completely customizable and flexible photography plugin for WooCommerce that enables you to create galleries and sell photos and digital art. It offers multiple layout options such as column grids or horizontal/vertical masonry layout. It also works with any WordPress theme and is compatible with page builders as well.

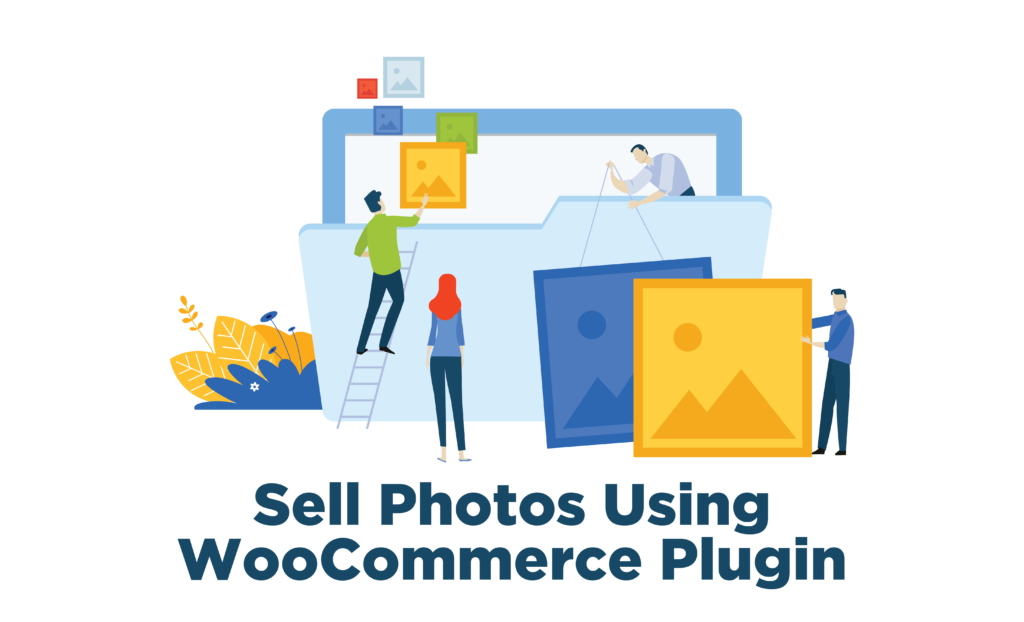
storefront How to Sell Photos as WooCommerce Products?
There are a few things you need to do before we start setting up a photography site on WooCommerce.
STEP I: Domain and Hosting Service
The first thing you need to do is register for a domain name and choose a suitable hosting provider for your business. There are many domain registrars available that can help you with this regard, although many hosting services provide a domain name for free with their package.
When it comes to hosting, there are multiple things you need to keep in mind, such as the customer service, speed, services, and security provided. Moreover, you also need to choose from shared or managed hosting. All these choices depend on the amount of traffic you receive on your site and what’s the content load, as it indirectly affects site speed and therefore affects customers’ experience.
STEP II: Install WordPress and WooCommerce
Then you need to install WordPress. This is another option that is provided by most hosting services to install and set up WordPress for you. Once installed, you can download WooCommerce. It is a free eCommerce plugin for WordPress that enables users to convert their WordPress site into an eCommerce store and sell products online.
WooCommerce provides multiple features such as payment gateways, coupons, discounts, multiple product types, and much more to help you create an accessible and customizable site. It also has unlimited plugins, free and paid, for every feature possible to increase your site’s functionality. Thus, WooCommerce is the ultimate choice for creating a photography store.
STEP III: Choose a Theme
Next, you need to find a theme that matches your business feel and style. Now WooCommerce provides multiple themes for free and paid which you can easily install and customize according to your preference. When choosing a theme, you need to see if it’s easy to navigate, mobile-friendly, compatible with plugins, and has a customized checkout section. All of this is necessary not only to attract customers but also to optimize their shopping experience.
Once all the necessary preparations are done, it’s time to create a photography store with WooCommerce. Below we have mentioned 2 plugins, which will help you set up a photo gallery easily.
Related article: Best WooCommerce Themes for your eCommerce store.
STEP IV: Adds Photos as Products
In this method, we are going to use the WooCommerce Product Table plugin to create a photography store with WooCommerce. First, download and install the plugin. For this, go to WooCommerce > Plugin > Add new, search for the plugin and add it.
Since you are selling your photos, they need to be uploaded as products on your WooCommerce store. For this, go to WooCommerce > Products > Add new. On this newly opened page, you have to add the product title, description, select categories, add tags, etc. You also need to upload the photograph in the “product image” box.
In the Product Data box, select the type of product, such as virtual and downloadable for photographs. Add the product file, select files, create variables, and much more. You would have to repeat the process for each photograph or you can use a plugin to automatically bulk upload multiple images and create products of them.
STEP V: Display in Table Format
The WooCommerce Product Table will not only show your photos attractively but also add an “add to cart” button and provide multiple configuration options to make your photography store stand out. For this, go to WooCommerce > Settings > Products > Product tables. Here you can edit the design, add/remove columns, choose how to display images, and determine their size as well. You can also set the number of rows and images to show per page.
You can further configure your plugin by going to the “Add to Cart column” section. Here you can choose to display the button, add a dropdown menu for variations, enable AJAX functionality, and much more.
Next, in the “Table controls” section you can add a search box and product filters so users can easily search for images of certain categories and tags.
STEP VI: Restrict Access
You can also restrict access to certain photos or client-specific work by using the WooCommerce Protected Categories plugin. All you have to do is create a different category for your client by going to Products > Categories, and add a password to limit the access to your client only.
Choose from the best WooCommerce Hosting Providers and manage your site efficiently.
fact_check Wrap-Up
Now photographers don’t need to stress out to create the perfect site for their business with all the required features. All the above-mentioned plugins can help you display your photos beautifully and also manage eCommerce operations. We hope this article will help you find the best plugin for your business. Check out some relevant articles that might help you optimize your site.


